

I wanted to share this project of mine, in hopes that it can inspire others out there, who might have the idea too. Especially since I couldn´t find a pattern at all; coming up with the colours alone to match the original from the game was no easy task.
One thing is following an already-made-pattern, but another is coming up with it, as I go along, and still have it turn out okay. That is what took me the longest. I have no printed-ready to be used-pattern, I just went with a low techy approach. I am sure others would be way more efficient, but this is how I made it work ![]()
The entire thing took almost two months of working on it a little bit by bit every day.
I´m happy to share the progress pictures down below. And I will try to include a few helpful tips, if you ever want to make something this large in beads yourself.
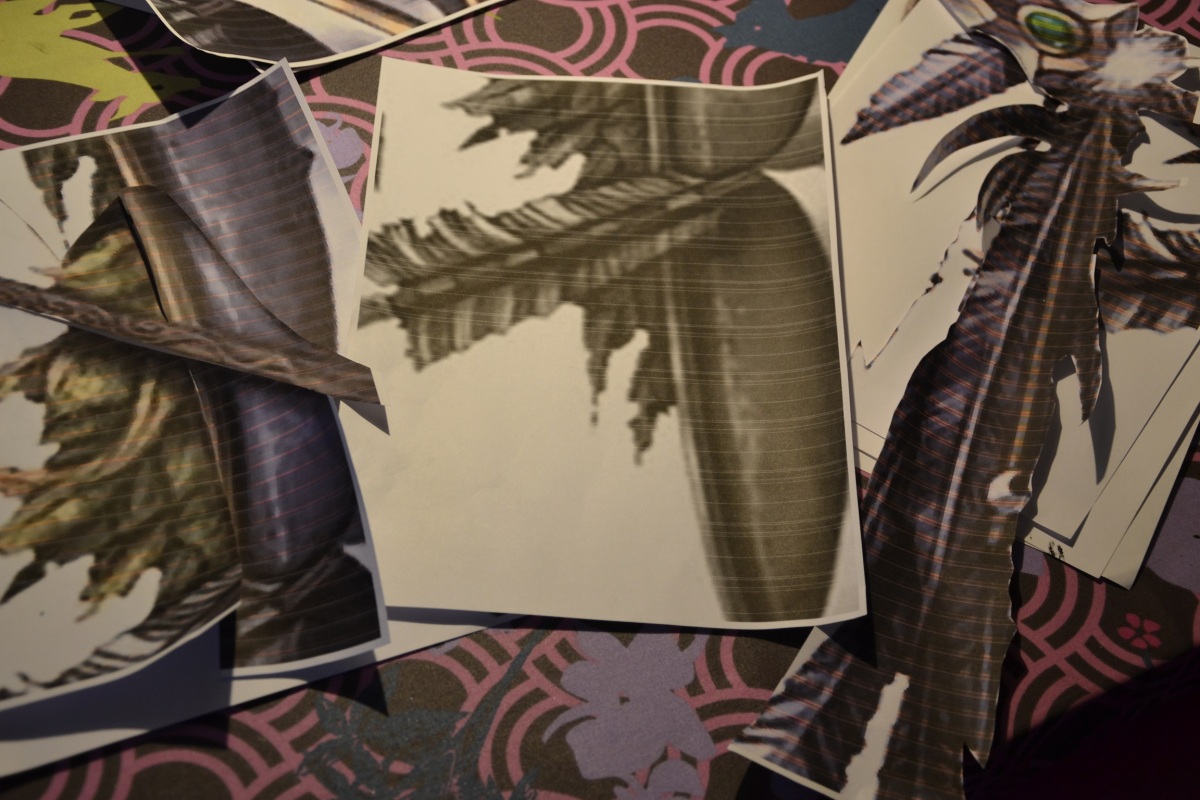
I´m slowly getting started. I printed out a picture of the Night Elf Crest, and then I enlarged it, and printet out another in several Word Documents. (I´m that low techy techy, I know)
I heard, that you can use some kind of program to make these into more pixel-friendly versions, but I didn´t have it.
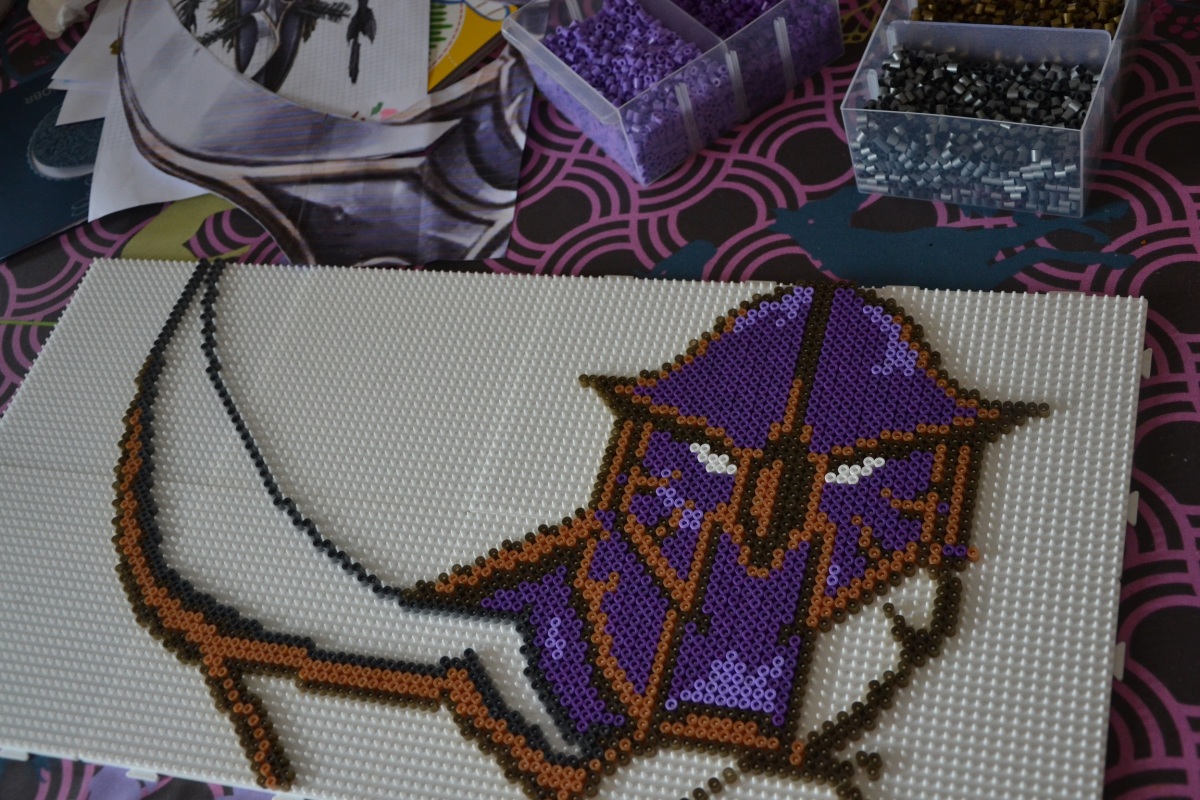
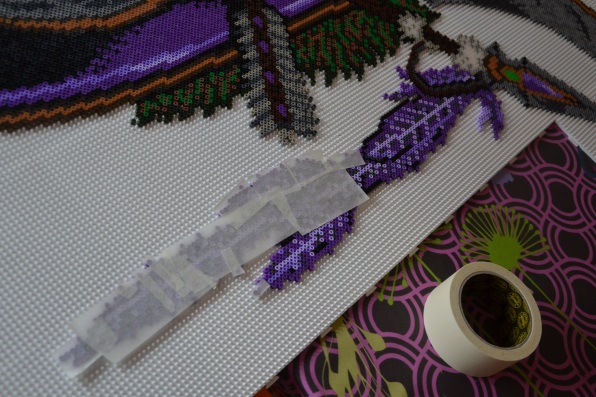
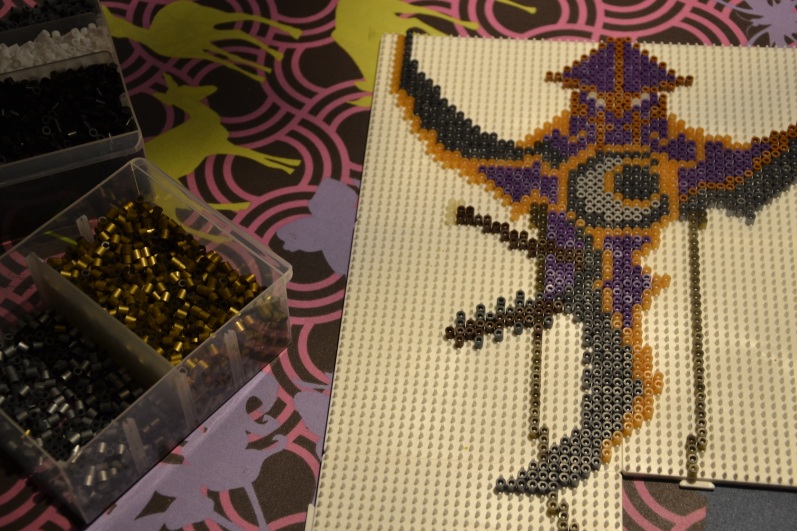
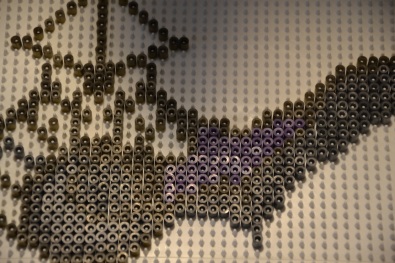
Then I just began, little by little, one pegboard at the time. You can see how I cut out the Night Elf Crest and placed it on the boards, then made a “line” and worked from there. The above picture is a raw draft, without shadows being added – that was an idea I got later on.
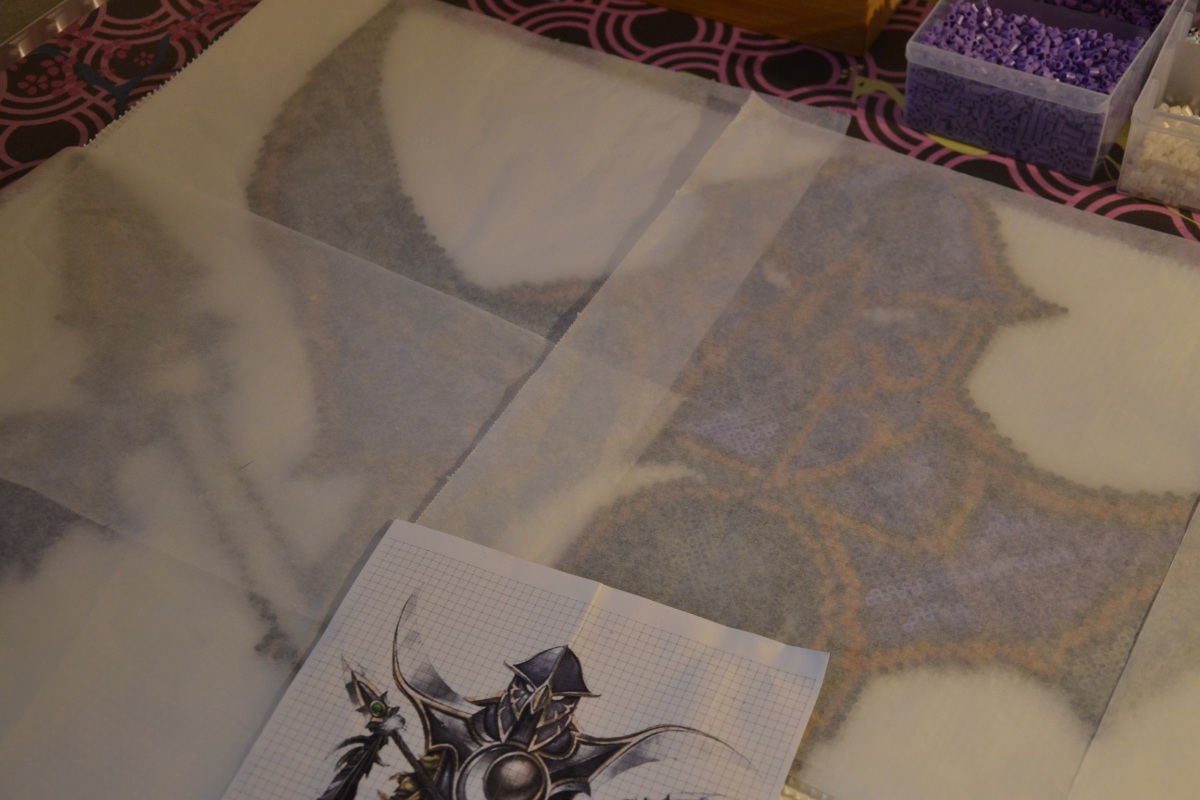
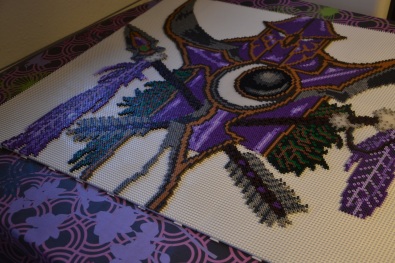
Whenever I wasn´t working on it, I would cover it with baking paper- to prevent dust. I knew it would have to lie there for months – and with the paper, it also prevented the beads from falling apart, if I would touch it accidentially. (We just have one table, so I used our dining table, which luckily is a very large one!)
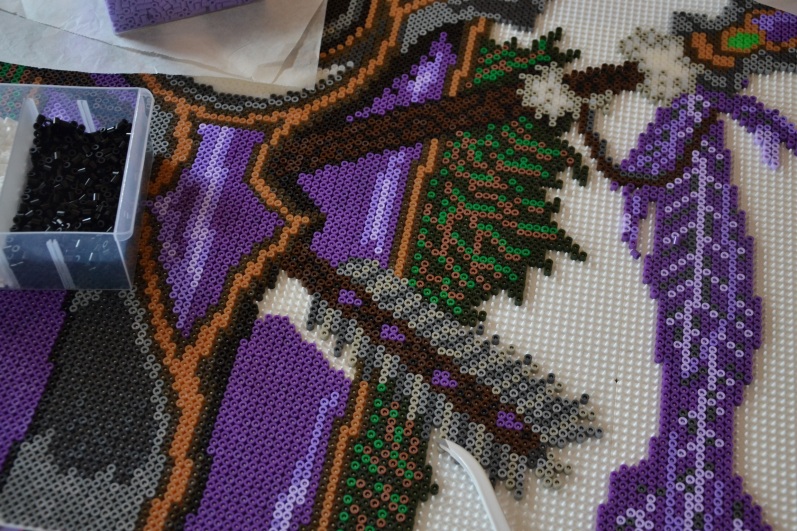
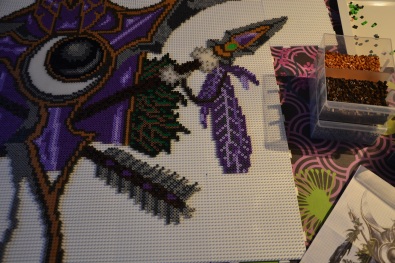
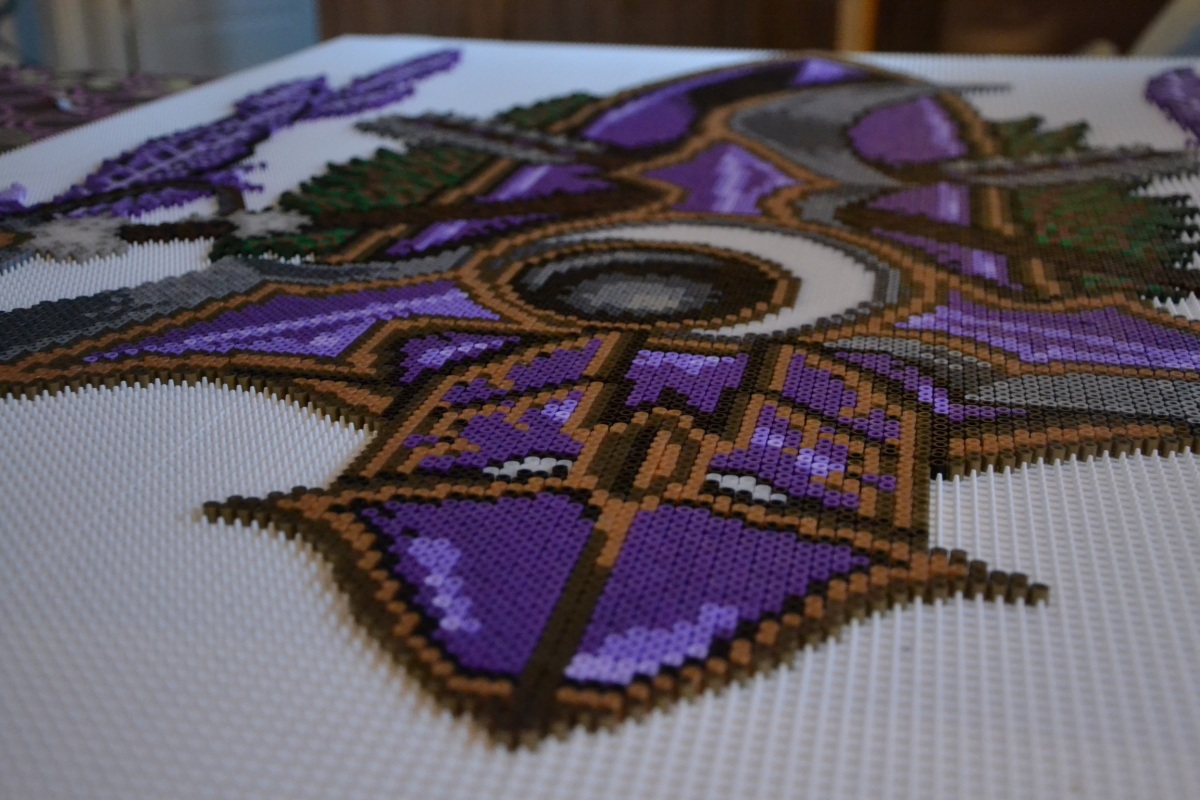
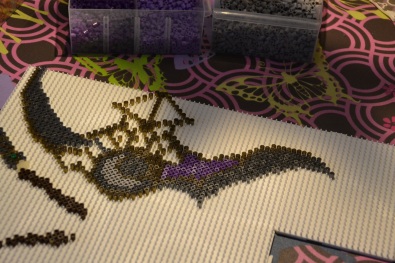
A few more showing the process. First one shows the shadows being added. I use a pair of tweezers most of the time, especially for things like that.
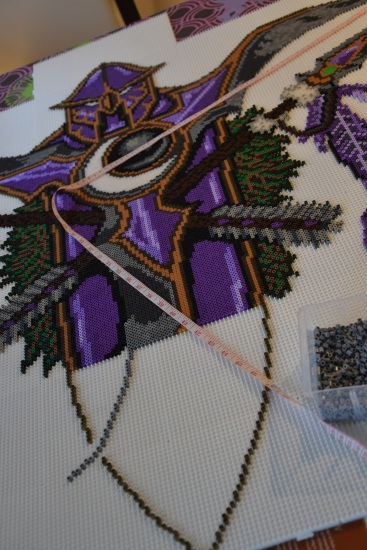
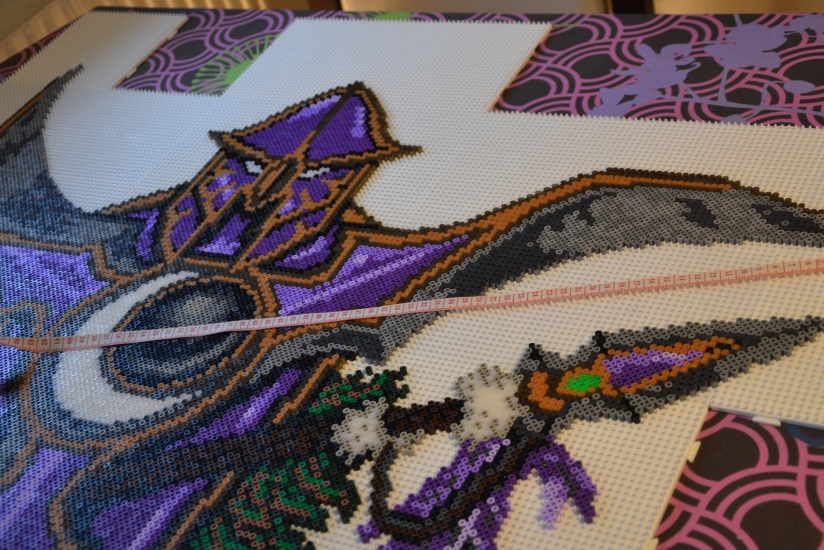
To make sure that each part of the glaive was equal in length, I used a measuring tape. Even though i followed the picture I printed out in size, sometimes, I had to cut corners or enlarge bits here and there, to make a nicer looking detail come to life. So it wasn´t 100% accurate to the printed version.
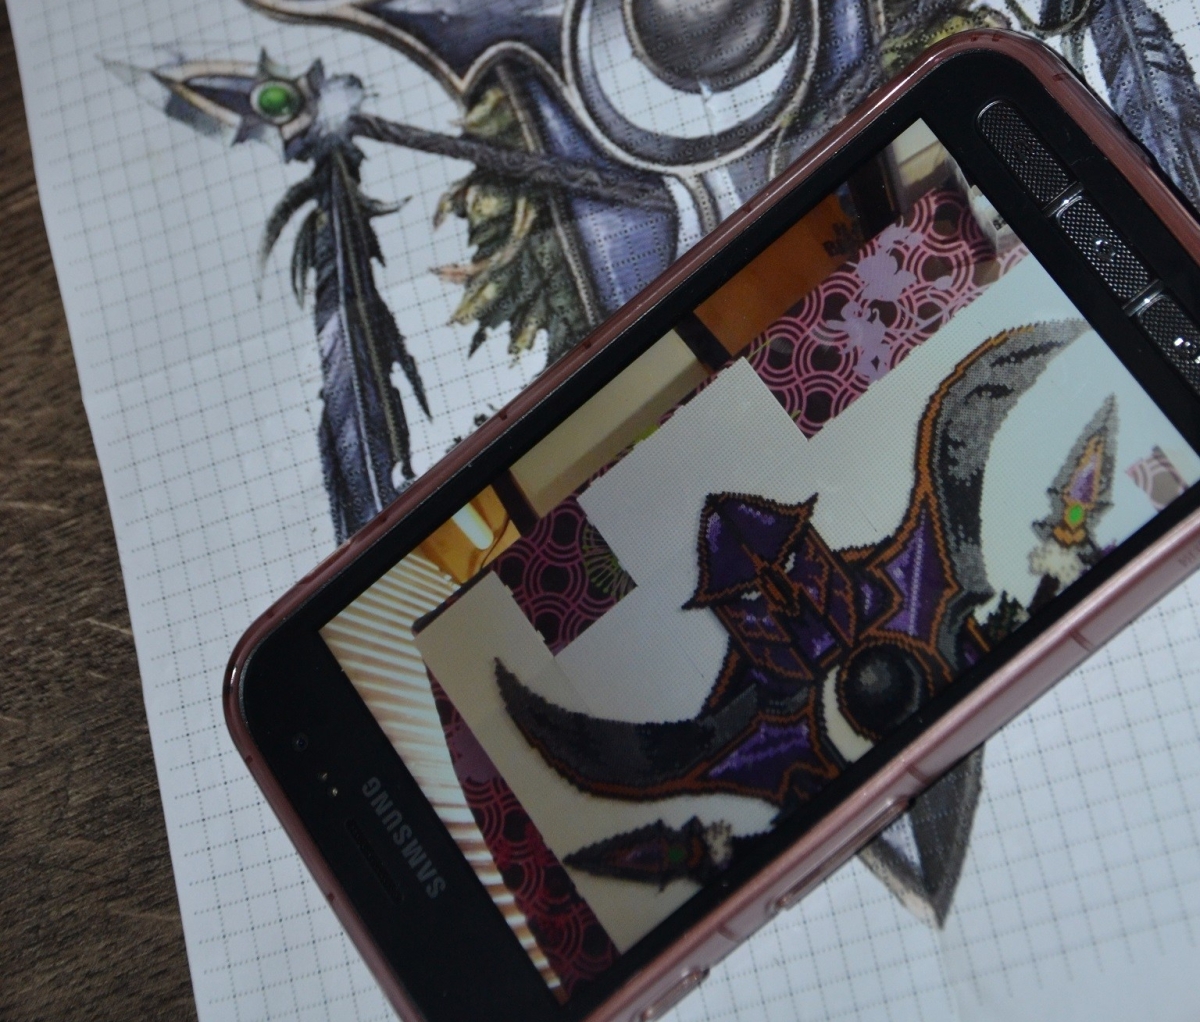
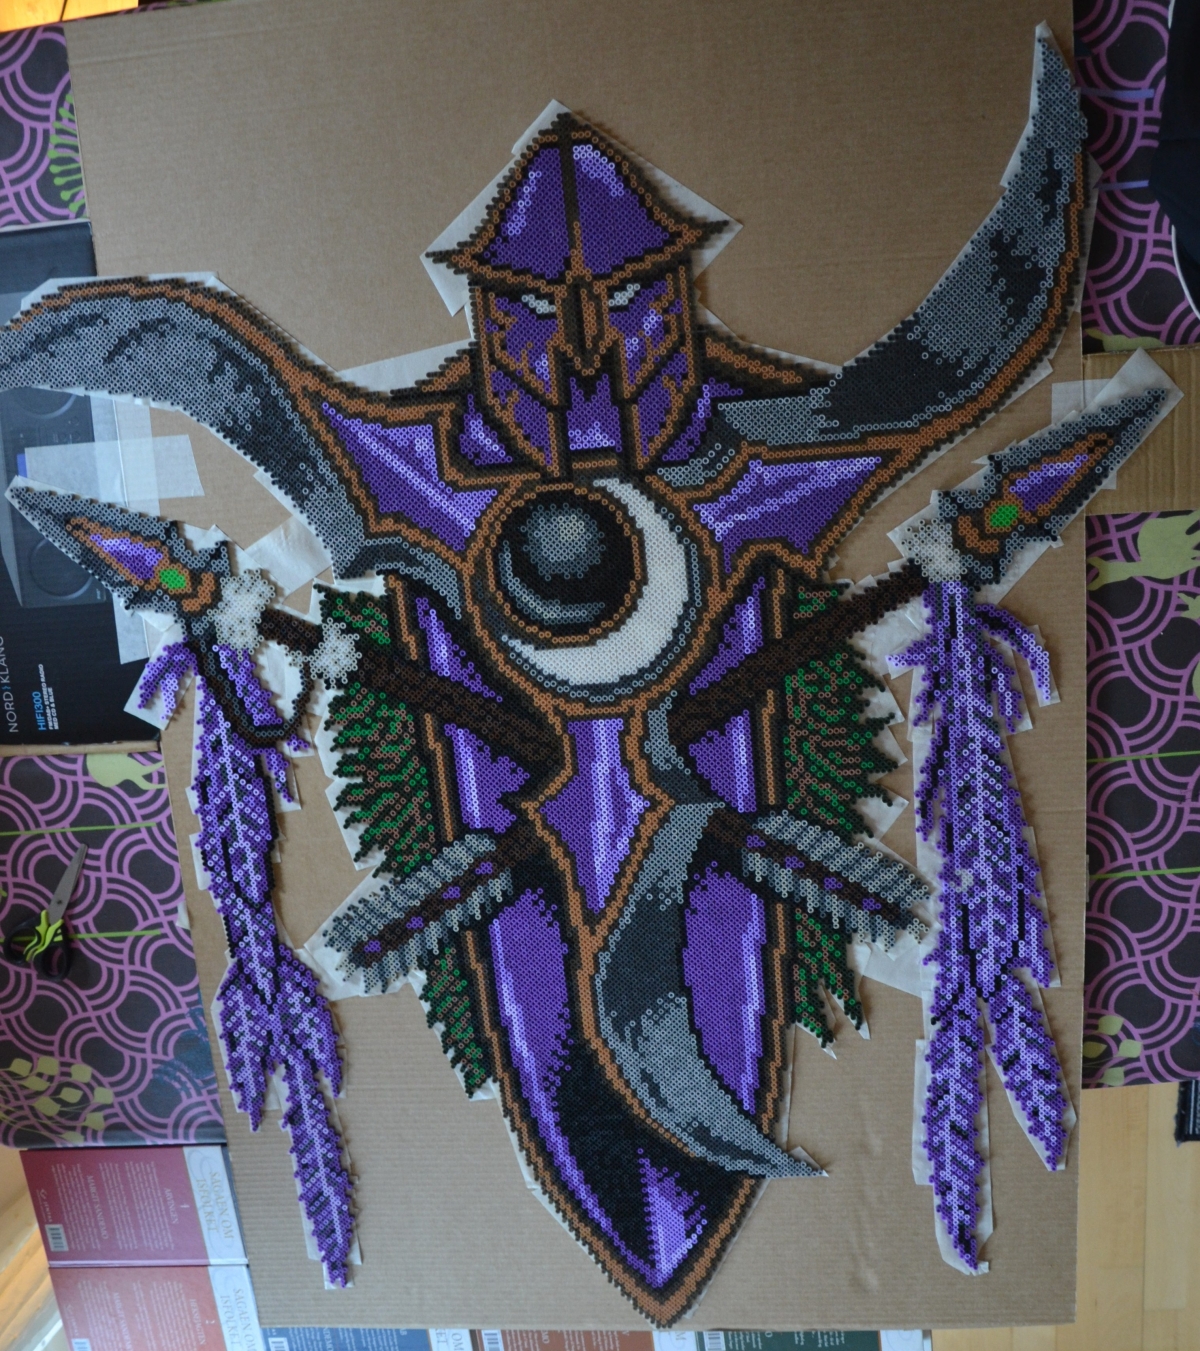
When you are making something this large, it actually helps to take a step back (stand above it) and take a picture with your phone or camera. The project just somehow “shows” itself a lot better like that, and getting a picture helps you spot “weak areas” you might want to improve. (Tip. Do not be a perfectionist!)
Try to cover all angles. It´s easy to miss “stray” beads, with a project this enormous!
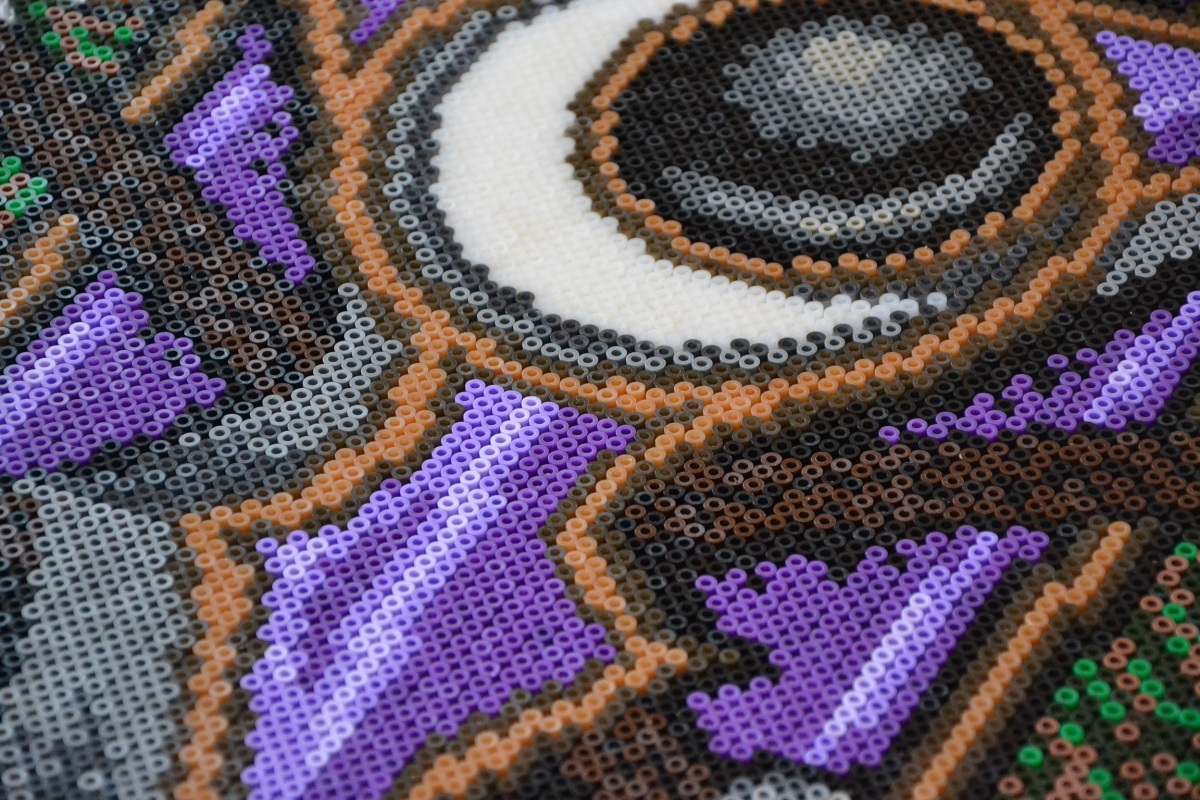
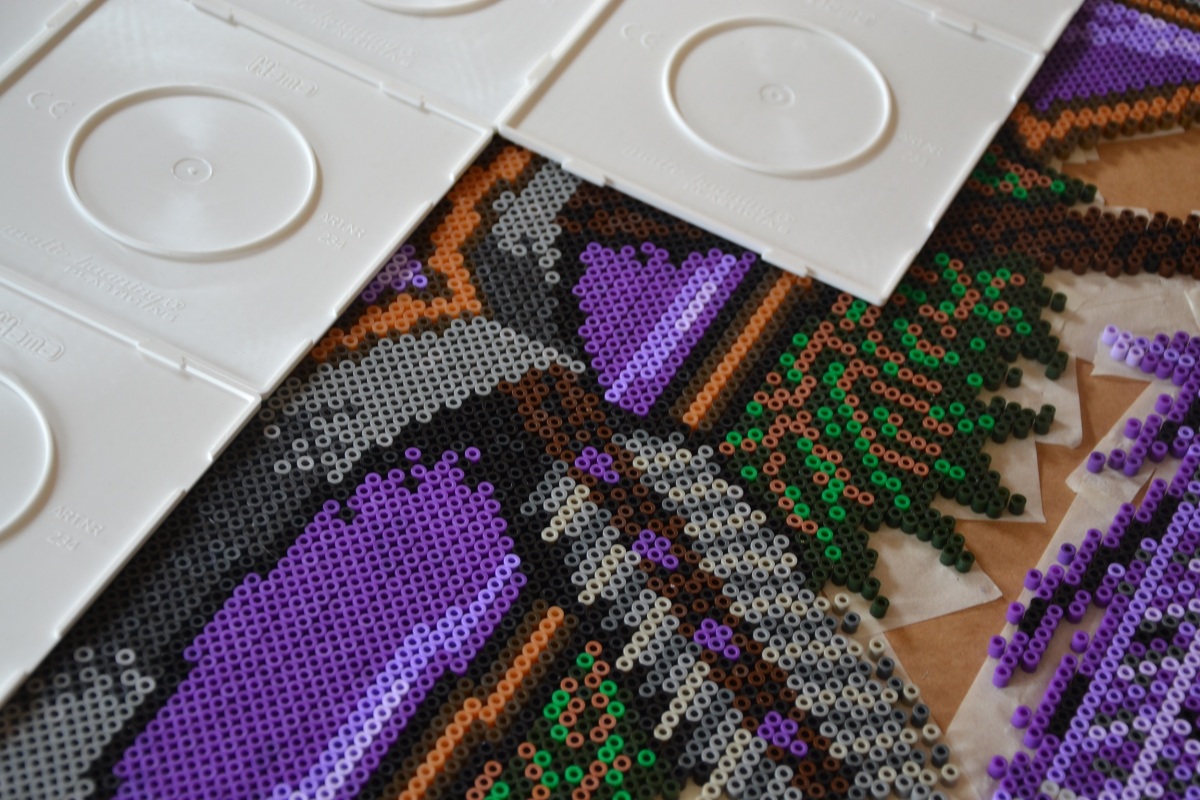
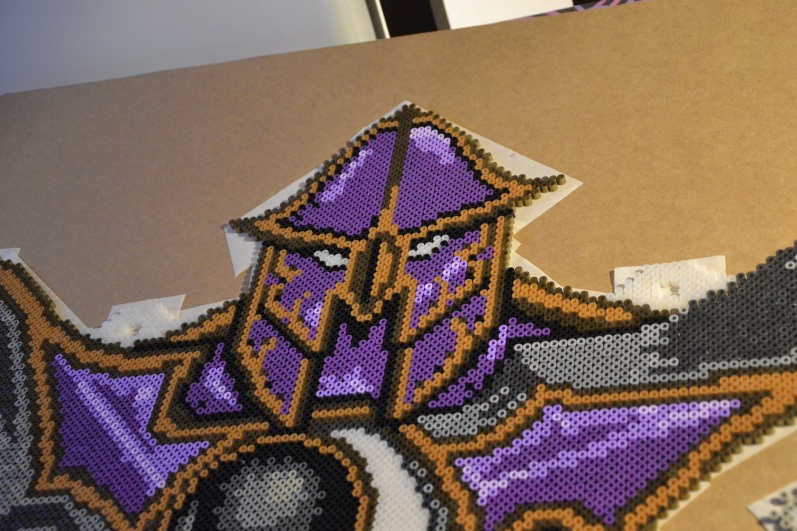
Take pictures of it up close; especially if you are using beads of colours similar to each other. Then you can spot the wrong ones a lot easier.
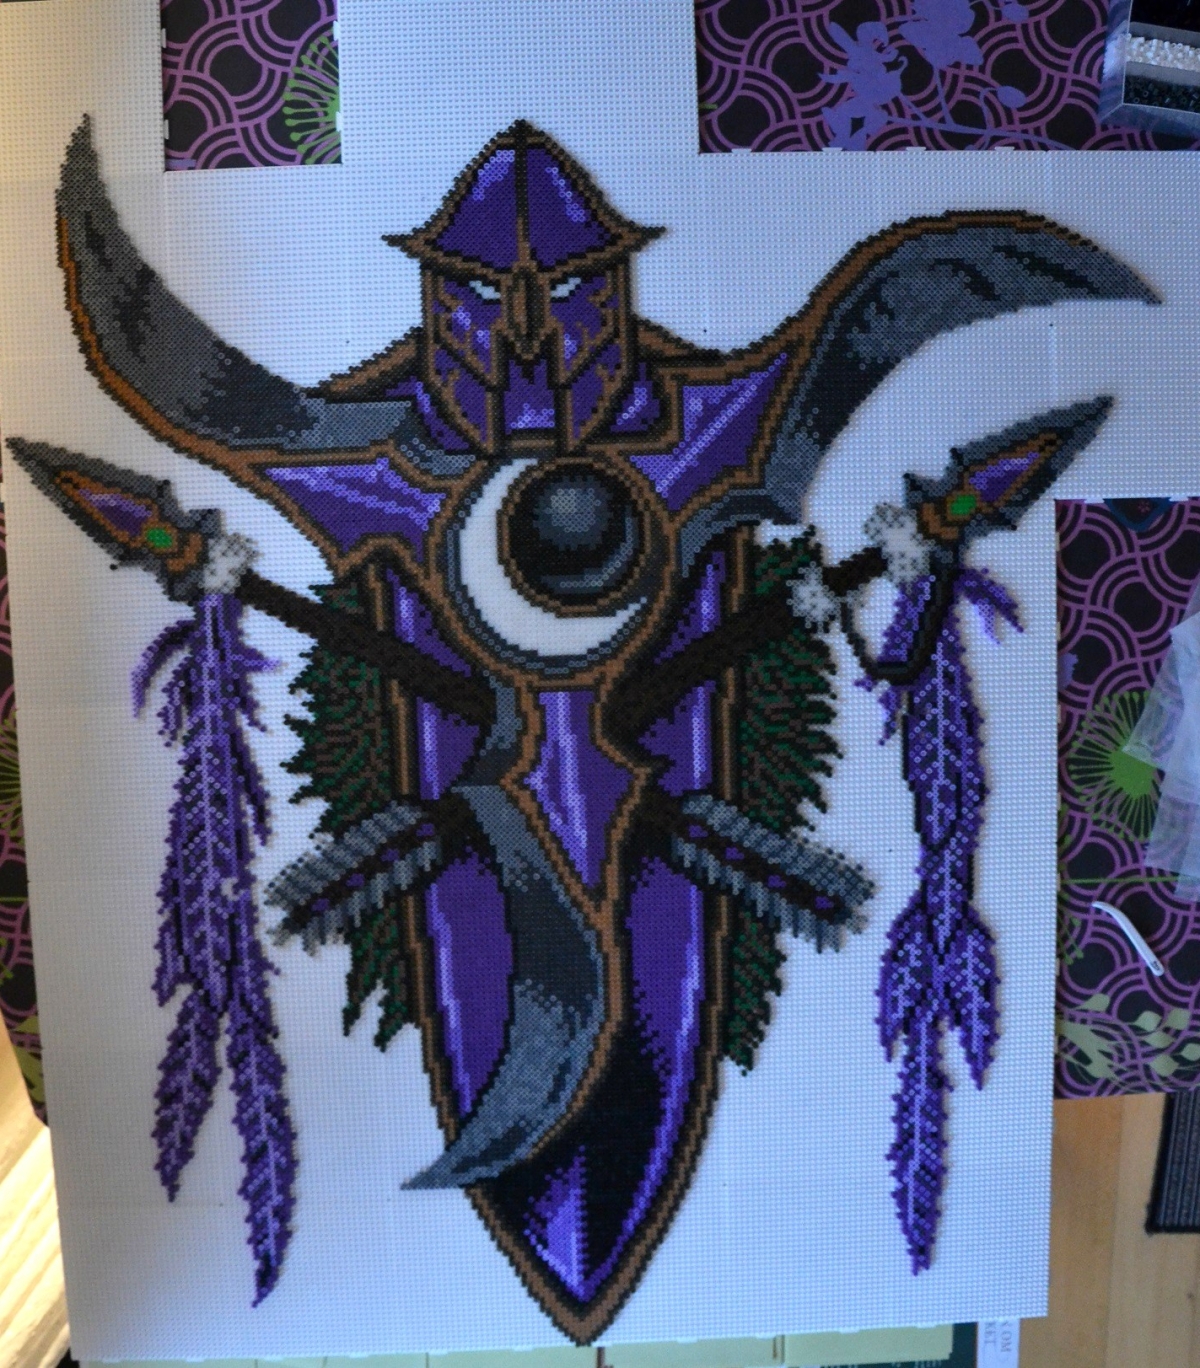
Done, before ironing.
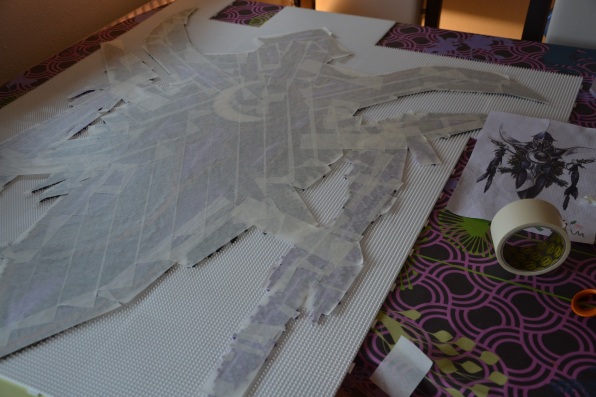
Now cover it up with “paint tape” – It´s called Masking Tape in English I think? So you can flip it and iron it without doing it on the pegboards.
Flipping it was no easy task. This is where I went wrong; I should have had some kind of large “metal base” underneath it, and then flipped it over. All I had was carton, but it turned out okay. It was a two person job though. If you need more details on this, let me know, and I will try to find a video that describes and shows it better!
I have no pictures of the flipping process, too much panic for that! I was being so focused/holding my breath-not knowing if it turned out okay-mode in the picture removing the pegboards, I didn´t even notice the picture being taken.
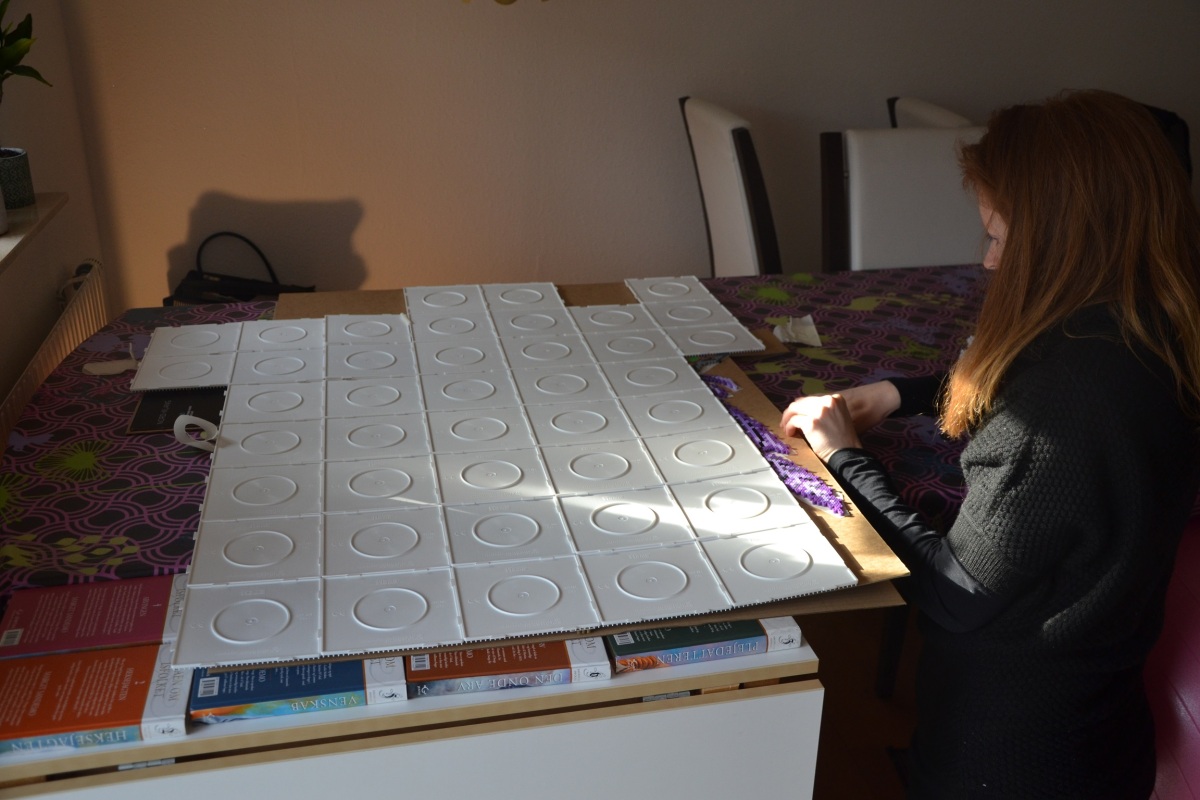
Slowly removing each pegboard, hoping the masking tape keeps all the beads in place.

What I especially like about the masking tape is, that after removing the pegboards, you can now place each bead differently, if you need. So no beads are “floating” far from the other. That gives a far better finished project.
And here we go, flipped and pegboards removed. The angle is a little off here, because I had to stand high on a chair to take this picture! And it´s mirrored, since it´s the backside showing.

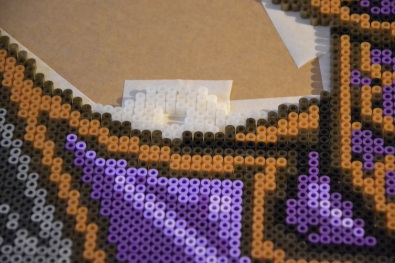
I forgot an important detail. A way to hang this on the wall that is more sturdy than just a bead or two. So I made these two “hangers” in a colour that matches our wall the best.
I left out four beads, so there was plenty of room for the screws. Making these on the masking tape afterwards was not the easiest of things, so don´t be like me, but remember it beforehand instead
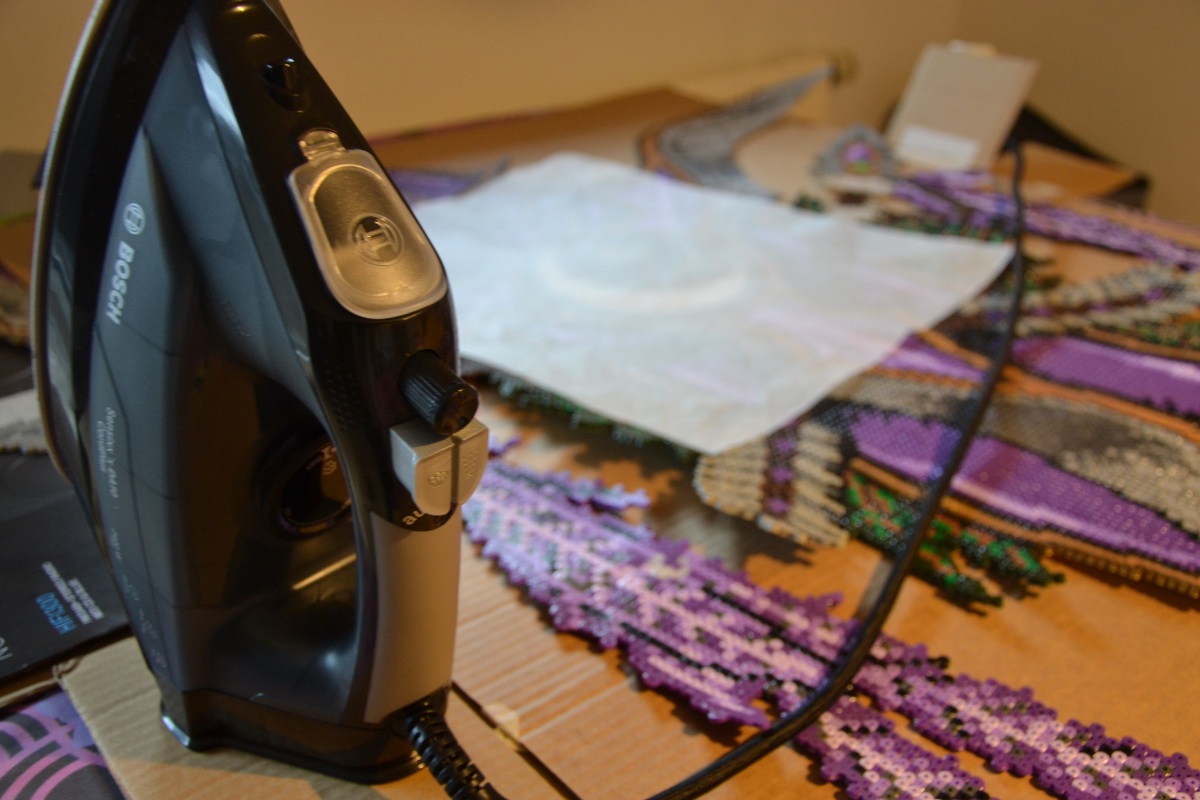
Let the ironing begin. Do not have it on carton, like I had to. It behaves weird from the heat. I made it work, but it could have been easier.
During ironing, I tried to create a little 3D-like effect, by carefully bending the beads while they were hot.
Use books for the parts of if, that you want to have “flat”. Others, you can bend, carefully, to make them pop, like I show above. I did that to the feathers and leaves and the end of the glaives
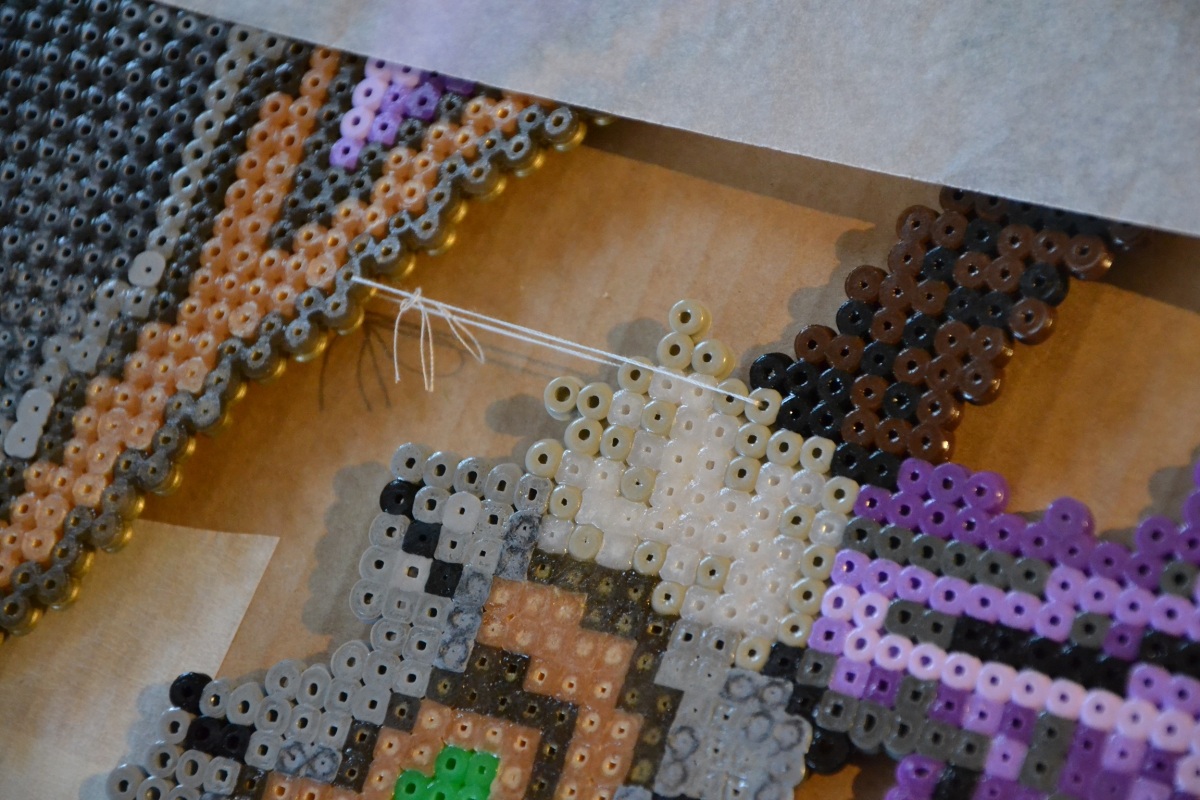
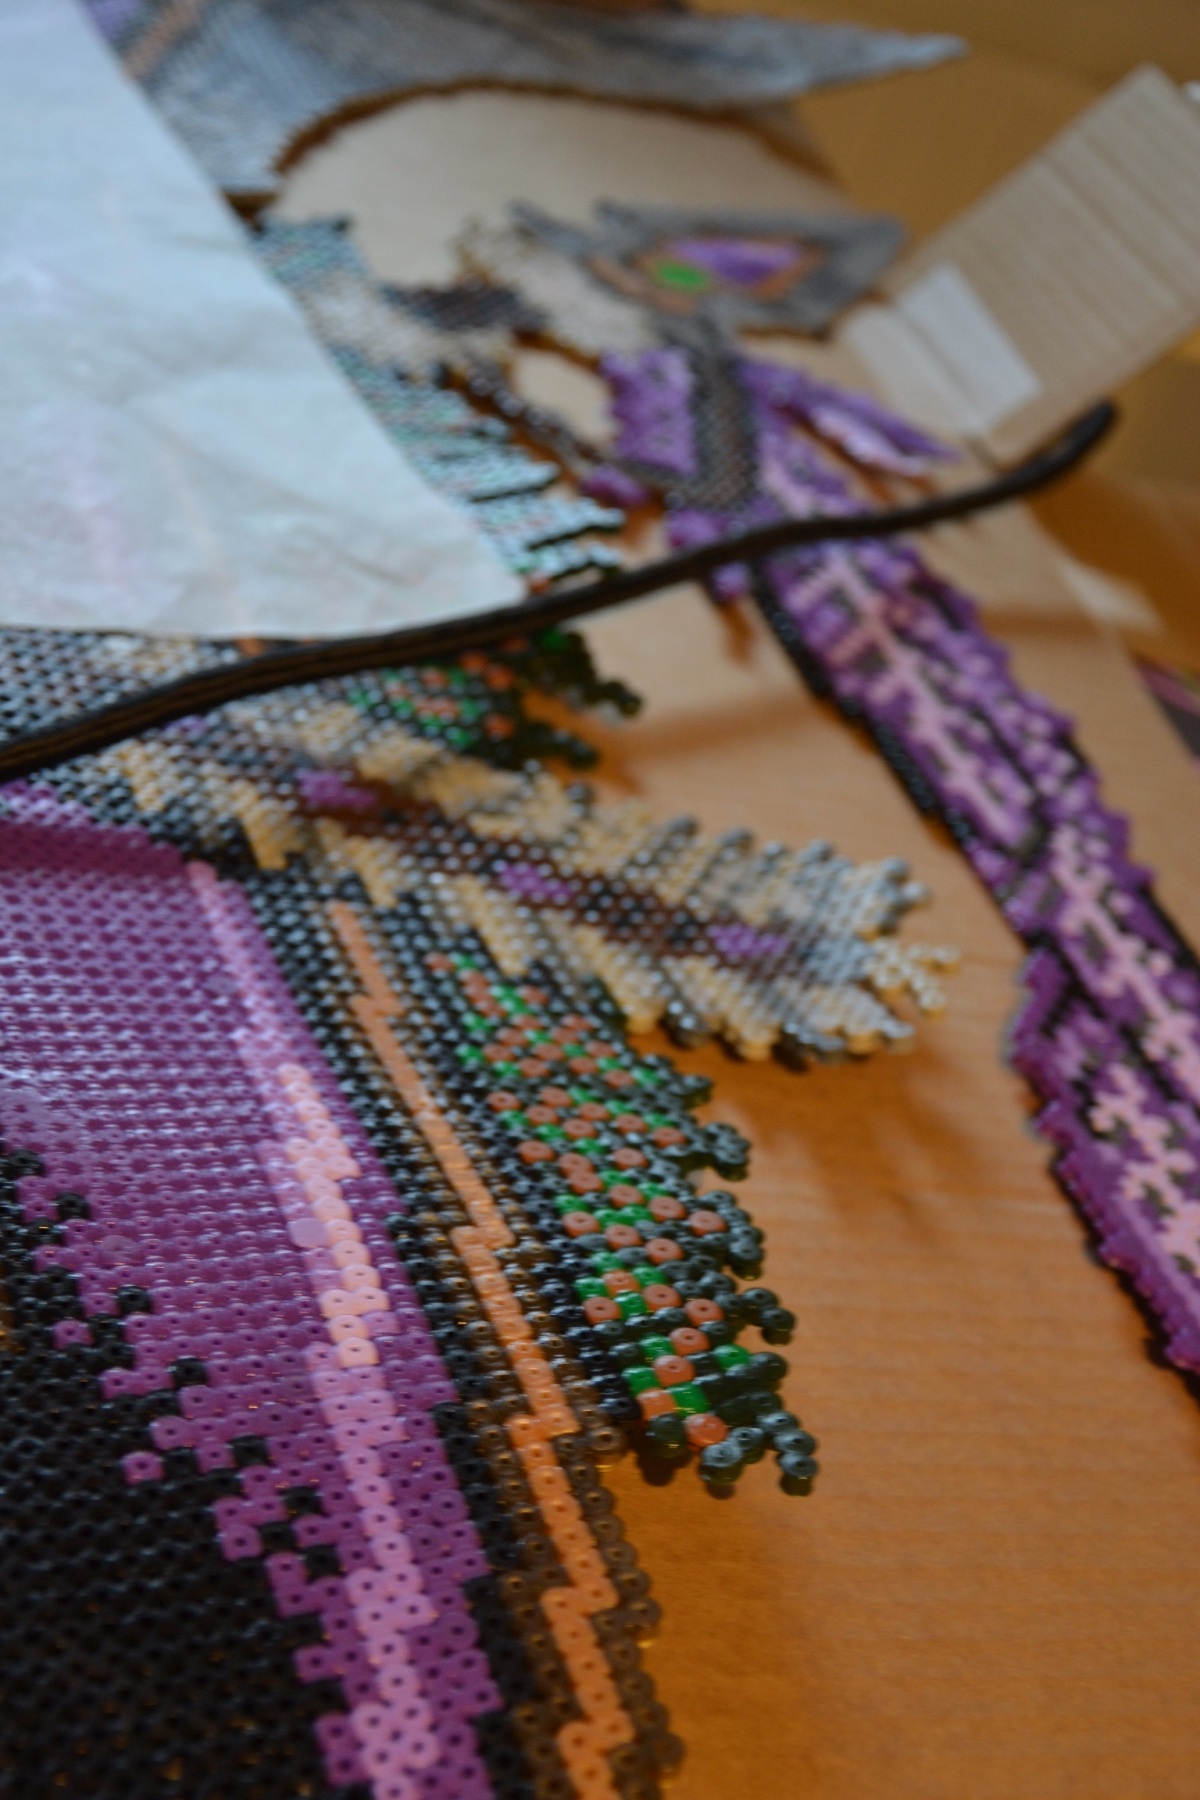
Before I started hanging it on the wall, I used a bit of thread to make sure, that the arrows would not be too heavy and break.
The real thread being used now is more see-through than this. I recommend, fish line? I believe? I haven´t got it myself yet. I added two more of the threads I do have though, to be sure.
And that was it.
Before I end, I want to include the very first version I made of this too. It was made to figure out the right colours and such. Quite fun to see it now, compared to what came out of it, hah
Total bead count: Around 32.000
Colours used: Shiny Green, Dark Green, Light Green, Black, Light Purple, Purple, Dark Purple, Light Brown, Dark Brown, Gold, Bronze, Silver, Light Grey, Grey, Dark Grey, Pale Grey, White and Pearl White.
Bead brands used: Hama and Nabbi
Number of pegboards needed: 42
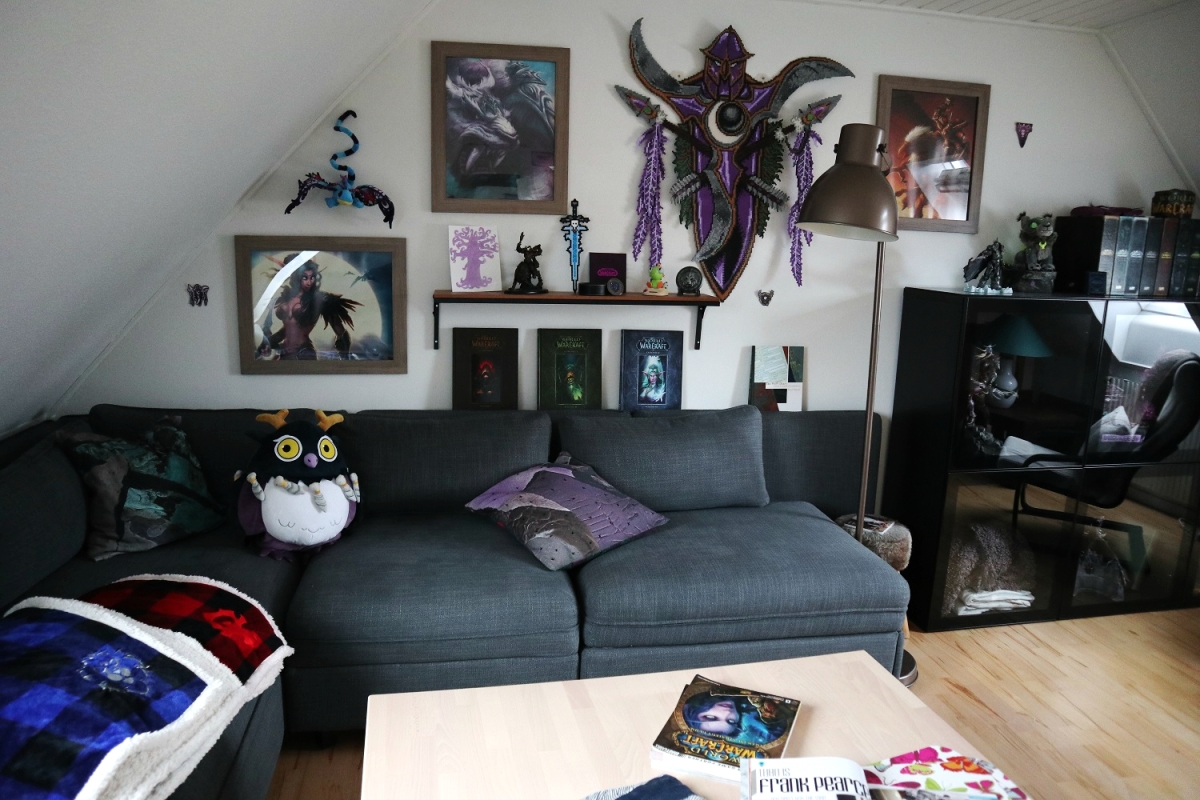
A picture to show the size of it, it became a lot larger than first intended.
I hope this can be an inspiration to someone – I searched long for it myself, but never did managed to track down something similar to help me get started.
Happy crafting, everyone ![]()
 That’s amazing, and I love the whole setup in the last picture!

 That setup just came together recently, to join in the hype for Classic, hah.


